
Home Tricks for Fixing Scratched Surfaces: Simple Wins, Smart Methods
Selected theme: Home Tricks for Fixing Scratched Surfaces. Welcome to a practical, uplifting guide packed with real-life fixes, small victories, and clever techniques you can try today. Love tips like these? Subscribe and share your favorite scratch-repair moments with our community.
Know Your Scratch: Diagnose Before You Repair
Gently run a fingernail across the scratch. If your nail catches, it is likely deeper and needs filler or progressive polishing. If it glides, you can usually blend it with oils, waxes, or fine abrasives. Tell us your result and we will recommend a next step.

Know Your Scratch: Diagnose Before You Repair
Is your finish a surface coating, like polyurethane, or is the color integrated, like solid wood or tinted plastic? Coatings may need touch-up markers or clear lacquer, while solid materials tolerate polishing. Share the finish type, and we will help tailor a safe approach.
Wood Wonders: Fast Fixes for Furniture and Floors
Rub a shelled walnut along light scratches; its natural oils darken raw lines. For darker woods, dab cooled black coffee, then buff dry. Finish with a furniture marker that matches your tone. Share a quick photo if your color match transformed a glaring scratch into a quiet whisper.
Wood Wonders: Fast Fixes for Furniture and Floors
Dents compress fibers; scratches remove them. For dents, place a damp cloth over the spot and apply a warm iron briefly to swell the wood. Do not use this on a scratched finish, or you may haze it. Comment if swelling lifted your dent back to level.
Wood Wonders: Fast Fixes for Furniture and Floors
Paste wax can fill micro-scratches and add sheen. For shellac finishes, a French polish pad and a few careful passes can blend swirls beautifully. Work thin, patient layers. If you restored grandma’s table shine this way, share the story—we cheer for sentimental saves here.
Use fine nonwoven pads or a stainless scratch-removal kit, always moving with the grain. Start gently, check progress under good light, and re-oil after polishing. If you have a brushed finish, post a close-up of your grain direction to confirm you are moving correctly.
Stainless Steel and Metal: Follow the Grain, Win the Day
Make a soft paste of baking soda and water. Apply with a microfiber cloth along the grain to reduce micro-scuffs. Rinse, dry thoroughly, then add a drop of mineral oil for a clean, even glow. Share whether the haze faded and how many passes it took.
Stainless Steel and Metal: Follow the Grain, Win the Day
Glass, Mirrors, and Cooktops: Clarity Without Clouding
Non-gel toothpaste can tame hairline marks on glass mirrors. For real scratches, switch to cerium oxide with a felt pad. Mist lightly, polish in small circles, and check often. If you upgraded mid-project, tell us how the clarity changed and what speed worked best.
Glass, Mirrors, and Cooktops: Clarity Without Clouding
Polishing creates fine dust that scratches again if it lingers. Mask surrounding edges, mist lightly to keep dust down, and wipe frequently with clean microfiber. Post your dust-control setup so others can copy what worked, especially around bath mirrors and shower glass.
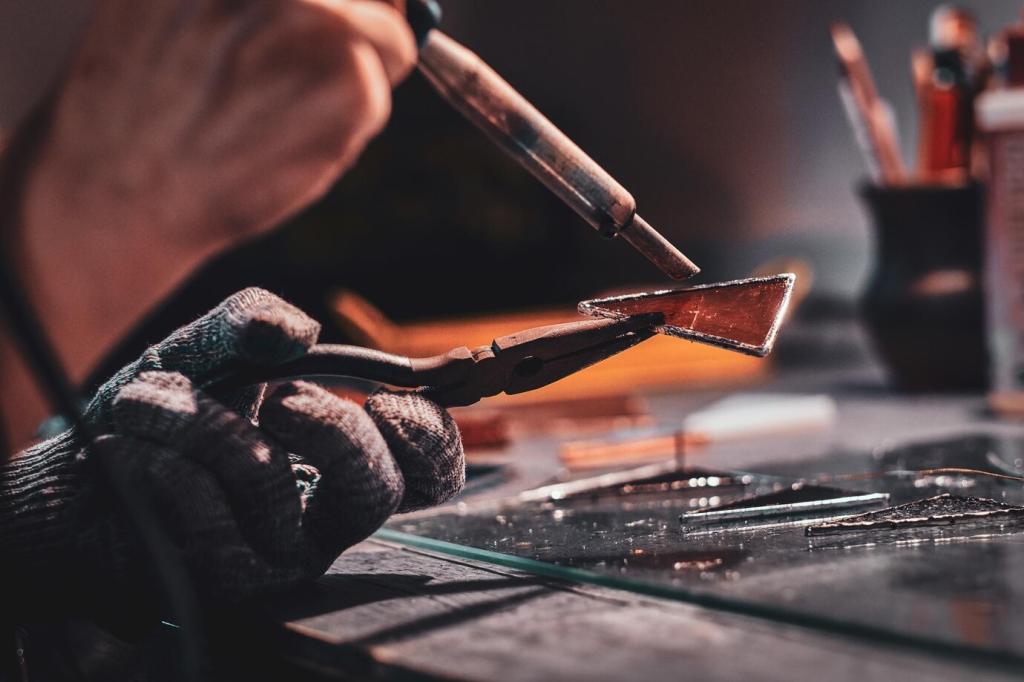
Stone and Countertops: Granite, Quartz, and Marble Nuances
Clean the chip, wick in clear epoxy, and level with a razor after partial cure. Feather with ultra-fine abrasives and polish to match sheen. Seal if needed. If you tried this, note your curing time and lighting angle so others can avoid low spots or shiny halos.
Stone and Countertops: Granite, Quartz, and Marble Nuances
Engineered quartz resists scratching, so marks might be on a residue or a surface coating. Try solvent cleaning before polishing. If abrasives are necessary, stay ultra-fine and test carefully. Share your brand and color pattern; some finishes hide blends better than others.
Leather, Plastic, and Laminate: Flexible Fixes for Tricky Textures
Leather Balm and Colorant Blends
Clean gently, then apply leather balm to relax small scratches. For deeper marks, layer compatible colorants and seal with a flexible finish. A reader revived a vintage satchel this way, and the patina looked intentional. Share your before-and-after; leather rescues always inspire.
Plastic Polish and Micro-Mesh Progression
Use plastic polish or a micro-mesh kit, stepping through grits from fine to finer. Keep the pad flat, avoid edges, and finish with a plastic-specific glaze. If your cloudy acrylic turned crystal clear again, tell us which grit sequence finally unlocked that satisfying shine.
Laminate Edges with Colored Wax Sticks
For laminate chips and edge scratches, press in a matching colored wax fill stick, level with a plastic scraper, and buff. Follow with a tiny dab of clear coat if needed. Post your color match and brand; nailing the hue is half the magic in seamless laminate repairs.
