Make Scratches Disappear: Wax and Crayon Techniques for Scratch Repair
Chosen theme: Wax and Crayon Techniques for Scratch Repair. Dive into simple, satisfying methods that restore wood furniture and floors with color-matched wax and everyday crayons. Read on, try a tip, and tell us which scratch you conquered today.
Why Wax and Crayons Work for Scratch Repair
Wax is malleable, letting it settle into shallow scratches and scuffs. By leveling the surface and changing how light reflects, the mark stops catching your eye. Try a small spot first, and report your results to help others learn.
Why Wax and Crayons Work for Scratch Repair
Household crayons can color minor scratches, while dedicated wax sticks offer richer pigments and better adhesion. Both make fast, low-risk fixes. Tell us which products you prefer, and why they worked best for your furniture or flooring.
Surface Prep That Sets You Up for Success
Dust, fingerprints, and polish residues block adhesion. Wipe with a slightly damp microfiber cloth, then use a mild, finish-safe cleaner or isopropyl alcohol. Let it fully dry. Comment if a specific cleaner helped your wax bond reliably.
Crayon Method for Light Surface Scratches
Slightly warm the crayon in your hands so pigment transfers smoothly without smearing. Glide over the scratch in short passes with gentle pressure. If color looks chalky, pause, warm again, and continue. Comment with your favorite brand and shade.
Use a soft cloth to buff in circular motions, then a plastic card to level excess along the grain. Repeat light applications rather than one heavy pass. Share a photo if your blending trick made the scratch truly disappear.
A thin coat of clear paste wax or polish helps lock color and mimic gloss. Always test for compatibility with your finish. Tell us which sealer matched your satin, semi-gloss, or matte surface best.
Press soft wax into the scratch, working across the mark, then along the grain. Level with a plastic scraper at a shallow angle. Buff lightly. Post your technique for preventing halos on darker woods like walnut or espresso finishes.
Hard wax responds to controlled warmth from a repair tool or heated knife. Use minimal heat and brief contact to avoid finish damage. Practice on scrap wood first, and share safety tips that kept your surface pristine.
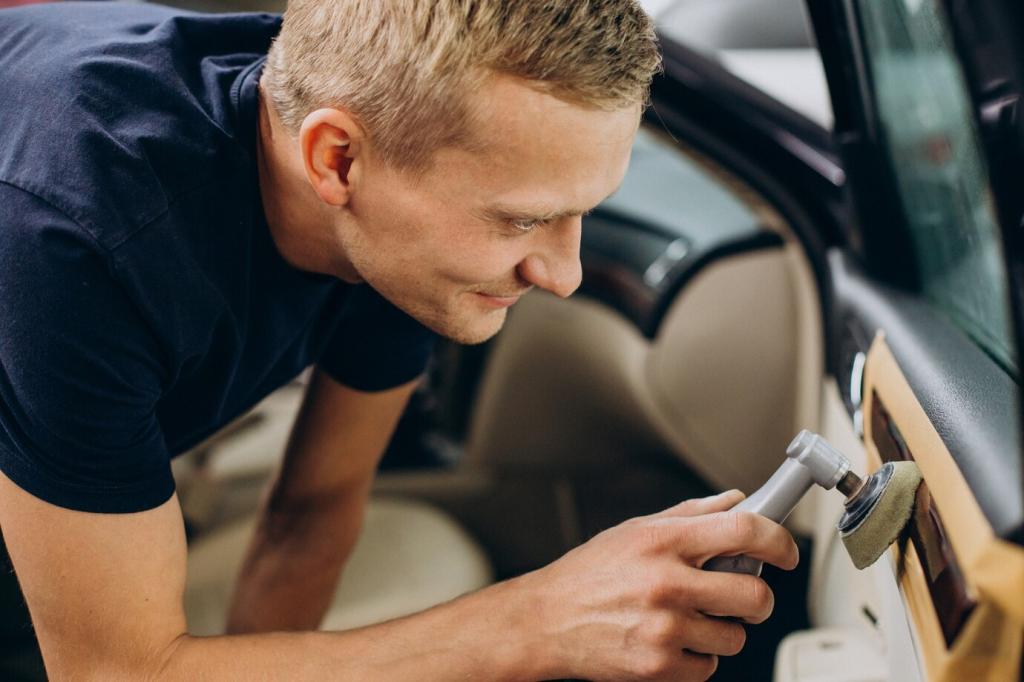
Feather the edges using a matching crayon or blending pencil, then top with a compatible polish. Evaluate under multiple lights. Tell us which lighting revealed imperfections and how you solved them for a spotless result.
Start slightly lighter than the surrounding wood, then add darker tones sparingly to build depth. This avoids muddy patches. Upload a quick snapshot demonstrating how layering turned an obvious scratch into a seamless surface.
Mastering Color Matching and Grain Illusions
Use a sharpened crayon tip to sketch faint grain lines in the direction of the wood. Soften with a fingertip, not pressure. Share which woods—oak, maple, or cherry—gave you the trickiest patterns and how you matched them.
Mastering Color Matching and Grain Illusions
Real-World Wins and Community Tips
A reader erased suitcase scuffs on her grandfather’s oak table using a caramel crayon layered with a walnut wax stick. Ten minutes later, the white marks were gone. Share your heirloom rescue and inspire someone to try today.
Real-World Wins and Community Tips
Minor chair scrapes on laminate flooring vanished after soft wax fills and a satin buff. The landlord never noticed, and the deposit was safe. Tell us your best rental-friendly fixes so others can avoid costly fees.
